
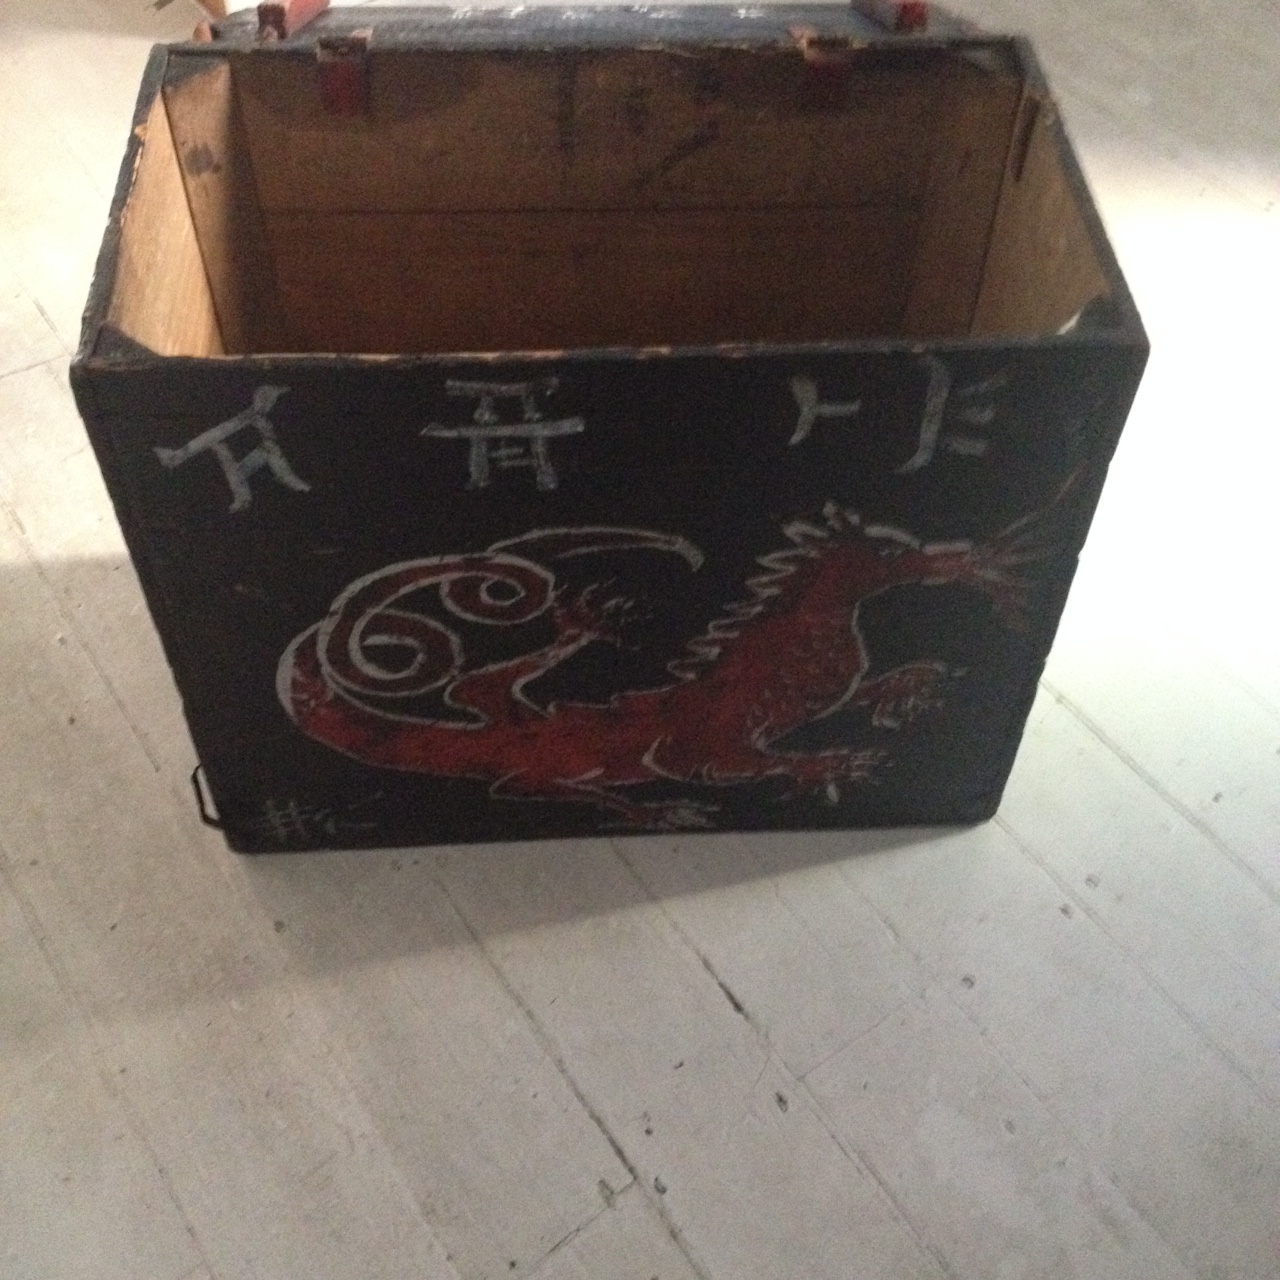
You may remember we found a cute little trunk on Gumtree a while back? You know, the horrid black painted number with the weird Chinese Dragon? Anyway, we’ve finally got around to giving this little piece a lick of paint and a complete makeover.
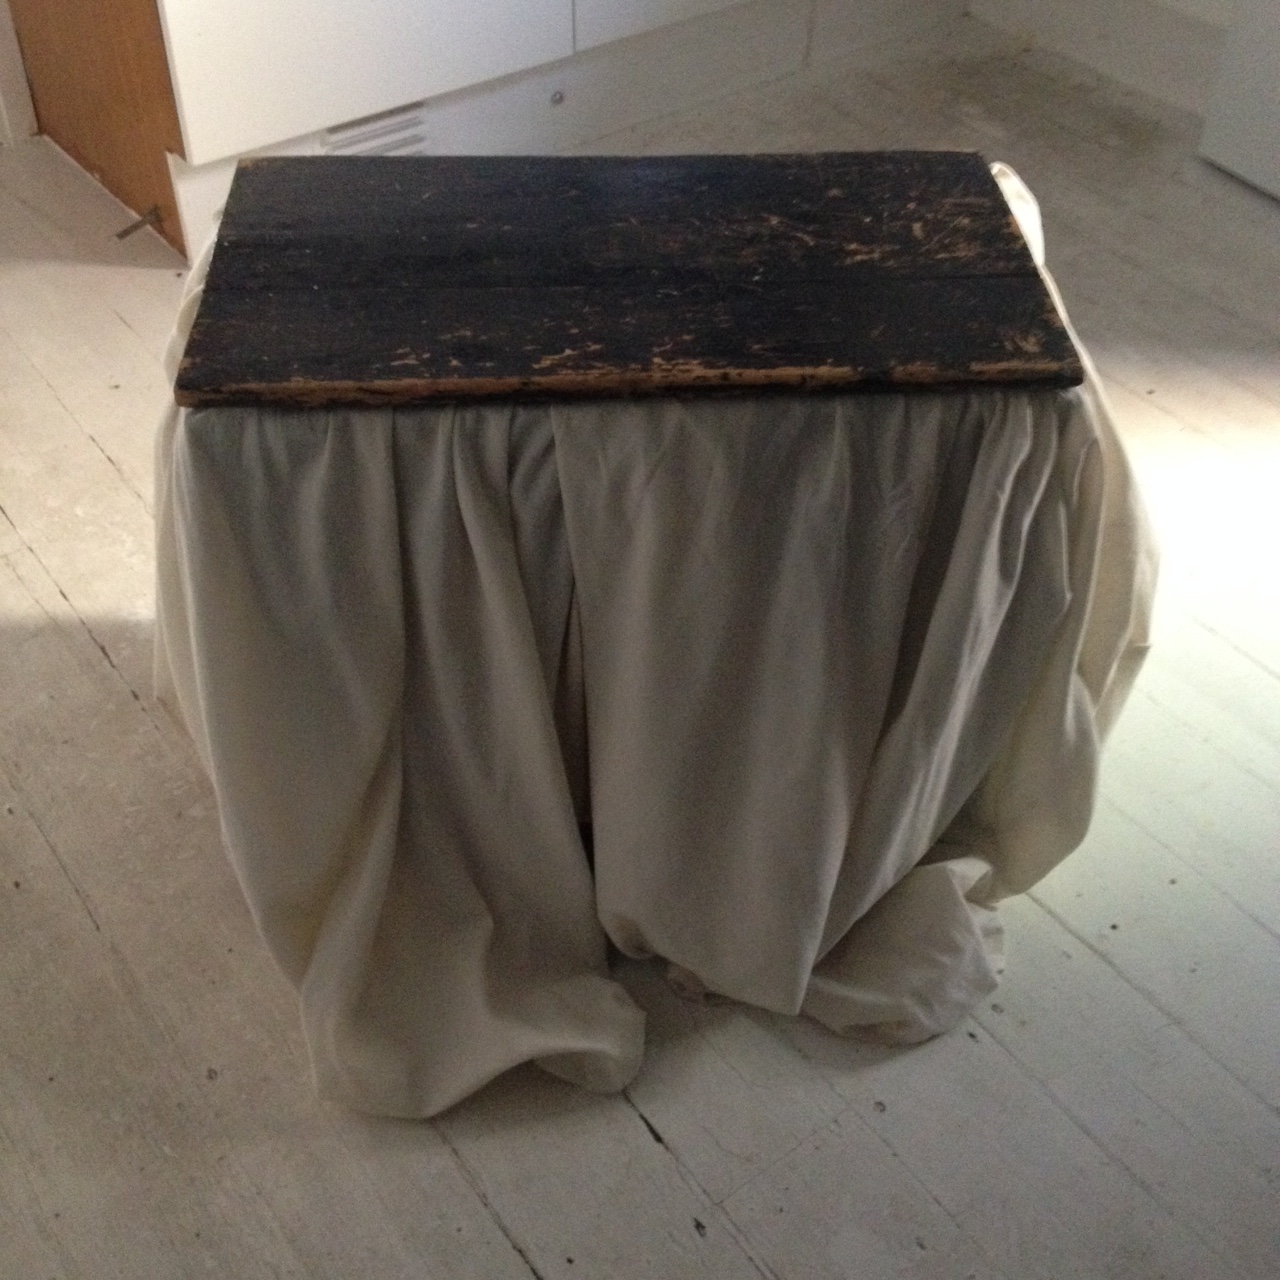
Over the past month of being in the flat, the trunk has taken prime position in our bathroom, as it’s the perfect vessel to hold clean towels next to the bath. We’ve been lining it with an old sheet as it was quite dirty – and so we can cover up the horrendous dragon. Painting this has been a long time coming, but we’d always know we wanted to give it a new lease of life!
After our Annie Sloan paint workshop we attended, we knew her range of paint would be the perfect way to hide the unsightly black paint that already covered the trunk. Boasting the ability to cover it in just one coat, we thought this would be the best way to start.
However, we wanted to make more of it than just a place to store towels so we also had a look in David’s sewing drawer to see what fabric we could use to make a seat cushion. What’s better than somewhere to check Twitter while you’re waiting on the bath filling? More on this later.
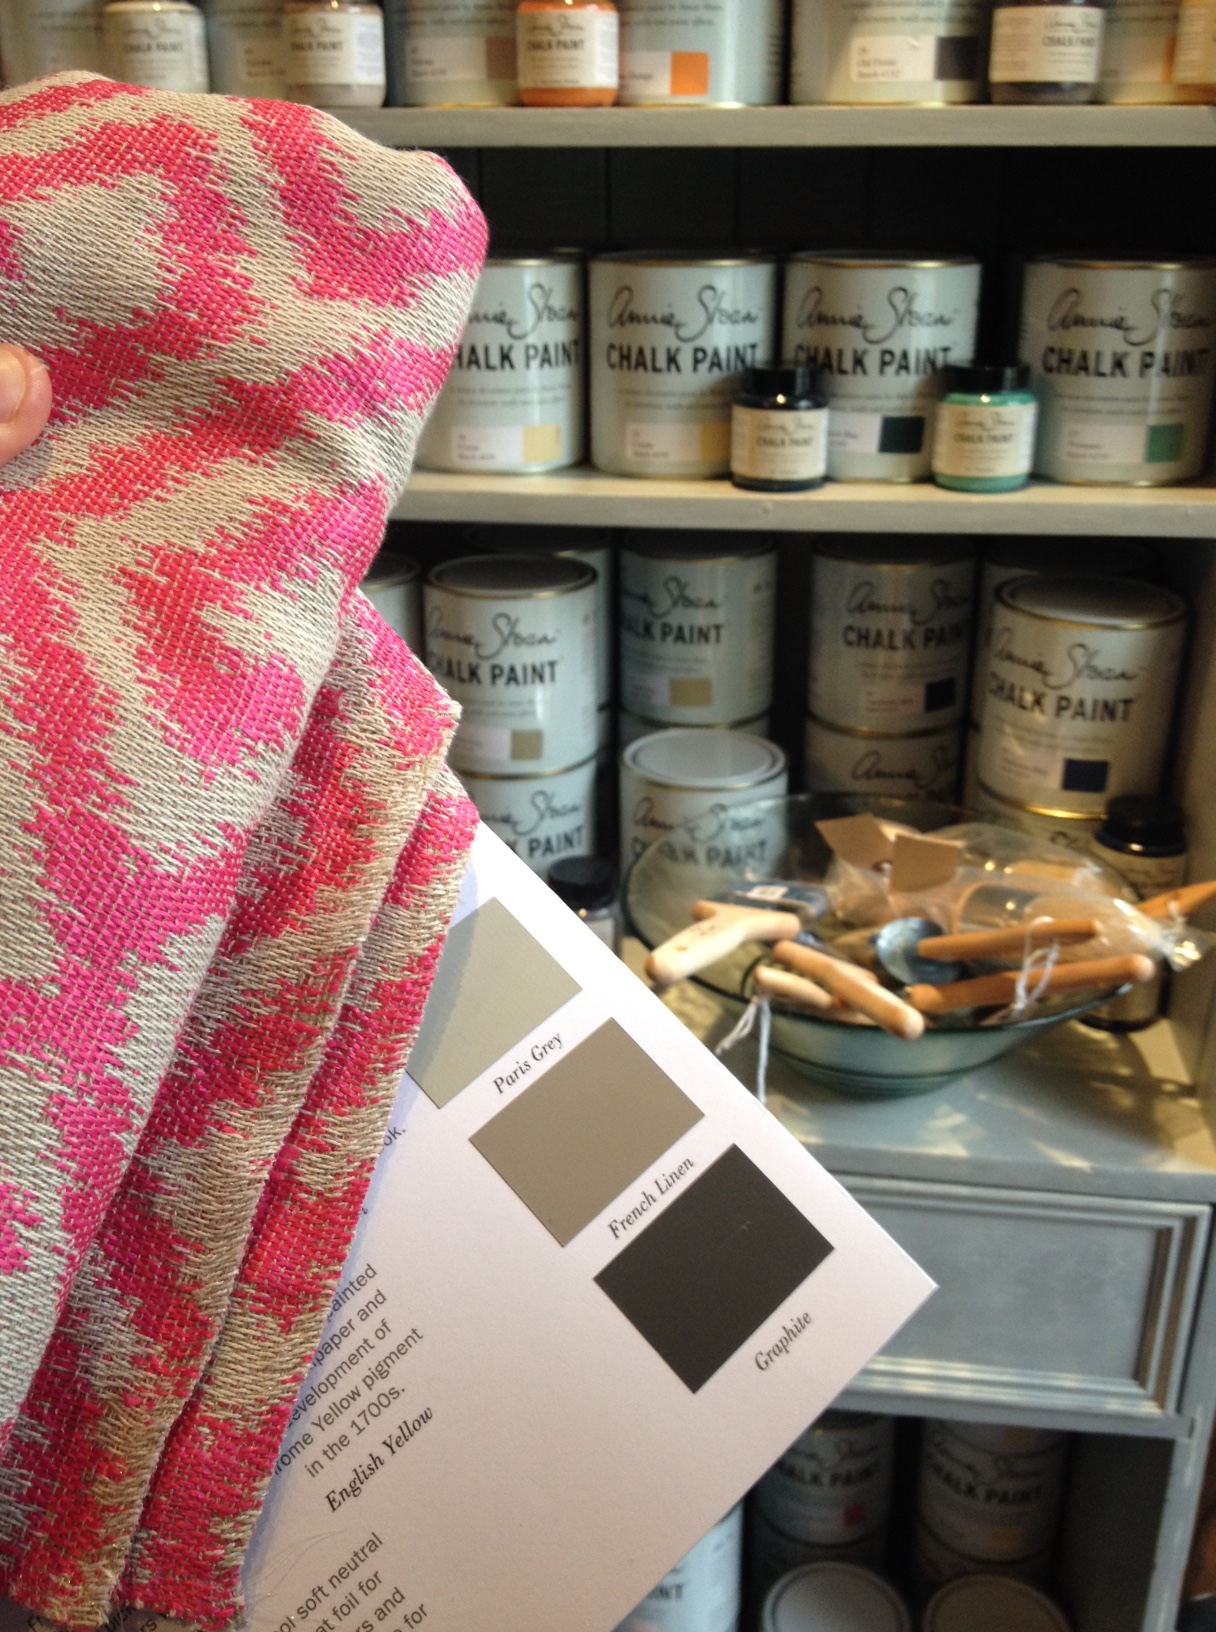
First we had to acquire the paint. We knew Annie Sloan was stocked all over London, including Rigby & Mac, who organised the fantastic aforementioned paint workshop. However, a little closer to our flat we discovered Revamp Interiors, just next to Wandsworth Common. We hopped on a bus and took a trip up with our fabric, so we could match the colour of the paint. Opting for Paris Grey, we left happy with a pot and some Annie Sloan soft wax – so we could get the perfect finish.
(Thank you to Revamp Interiors who were extremely helpful in not only choosing the colour and giving their input but also advising on upholstering… we’ll definitely be back soon!)
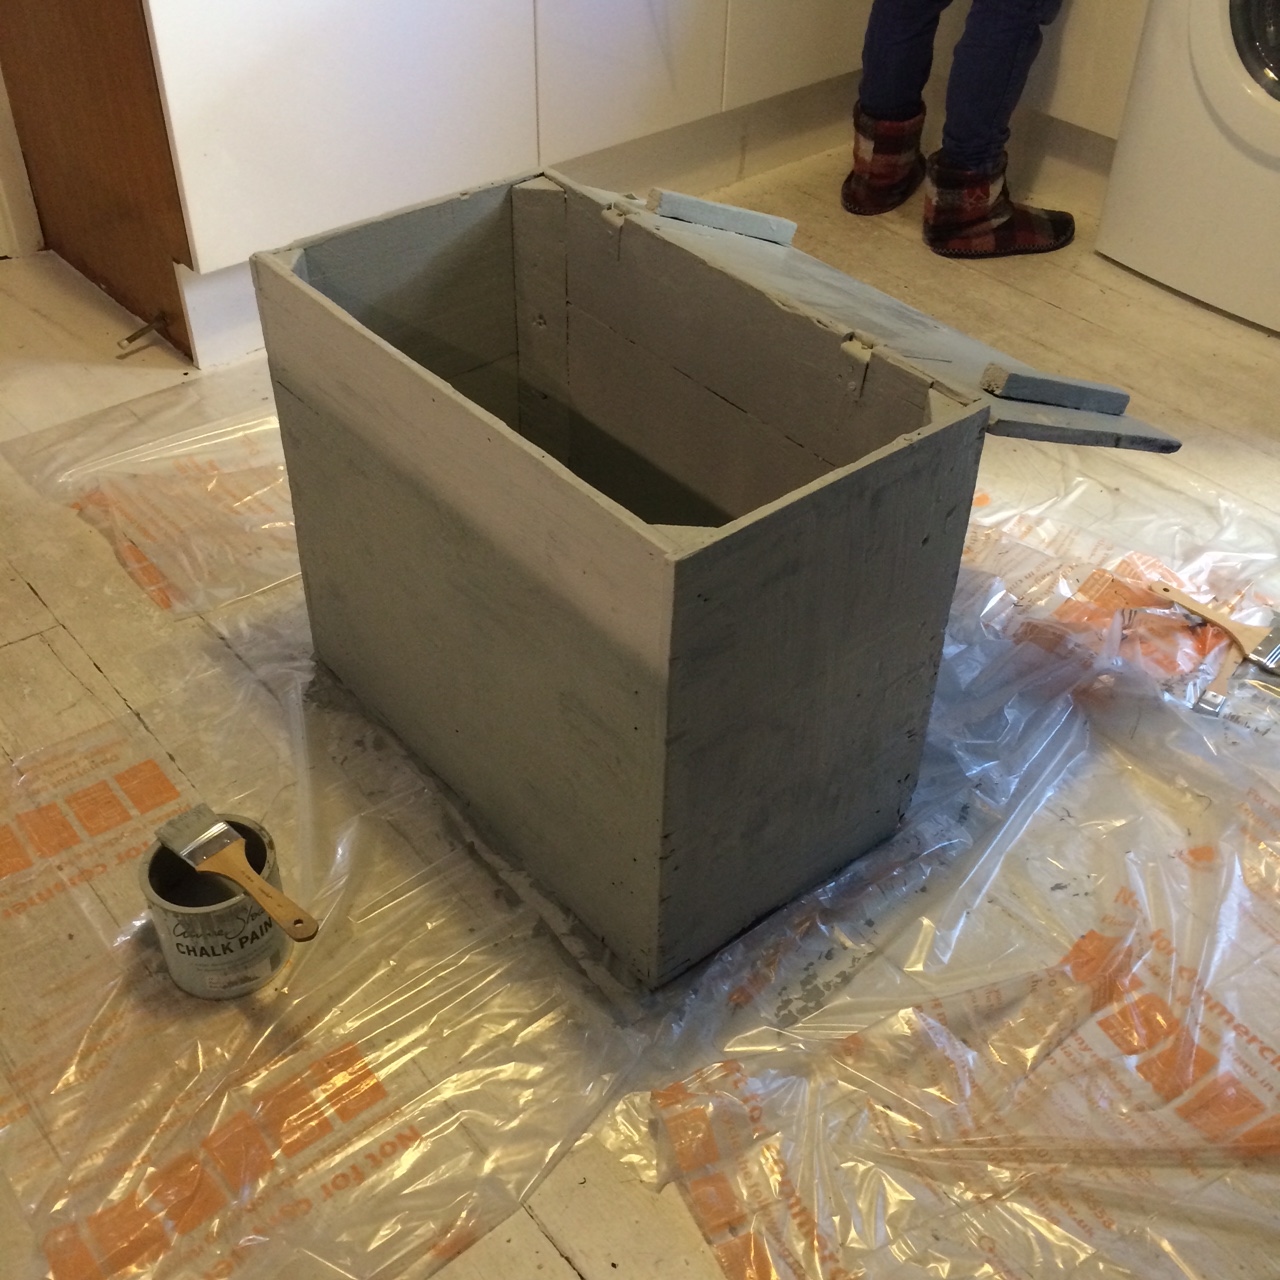
Now, as Mark’s dad pointed out, we’re not exactly DIY savvy – so you can bet we never had sandpaper. However, that’s the genius of Annie Sloan paint. Starting from the inside, we gave the wood a good ‘ole coat which gave the interior a fresh appearance.


Remember we said we’d just need one coat? We actually needed two, but we think that’s just because the wood was painted completely black. The paint was a treat to use and dries in no time – another benefit of the chalk paint. One top tip from the Annie Sloan workshop was to use a hair dryer to speed up the process, something for all the impatient bunnies out there…
We moved on to the outside and got the whole thing painted.
We also decided to bring another dash of colour in to the mix. We ideally had a sample pot of Cuprinol’s Sweet Sundae paint in the cupboard which perfectly matches our chosen fabric so decided to use this to add detail to certain areas.
We popped the trunk aside and left it to dry before moving on to something a little more technical…
Using a complex graphic design techniques (a pen and a ruler), we lined card to create a stencil to draw out some ‘industrial’ style lettering we thought would best match the style of the trunk.
We cut out the word TOWELS and taped the letters down to the wood.


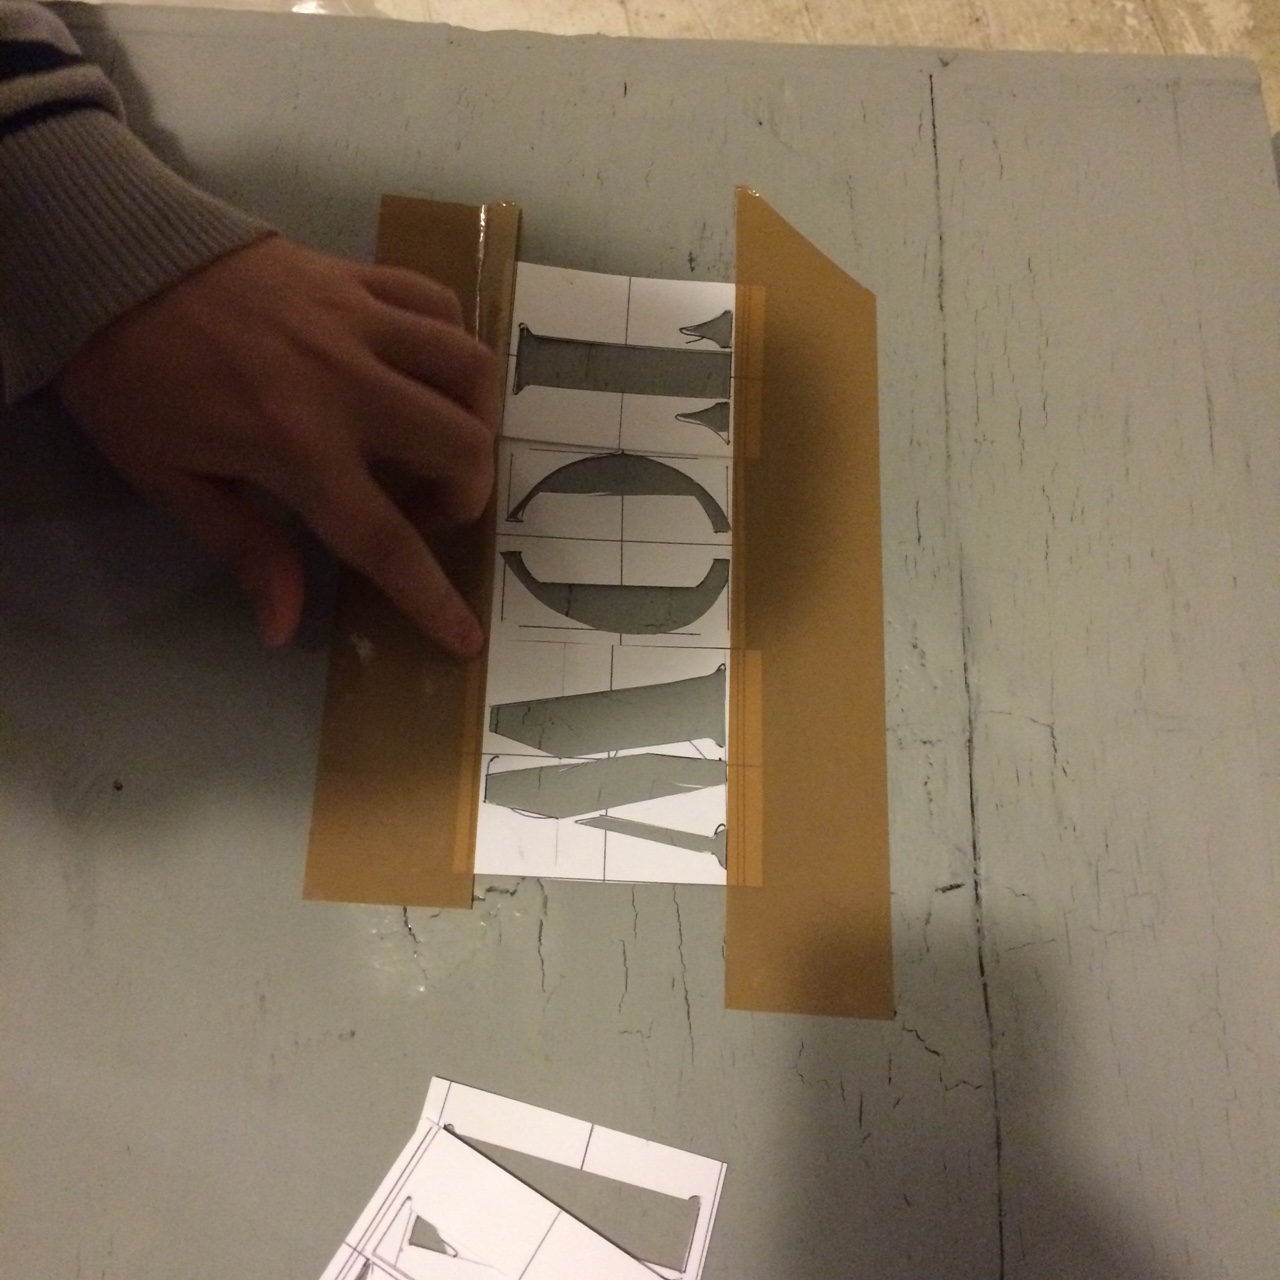
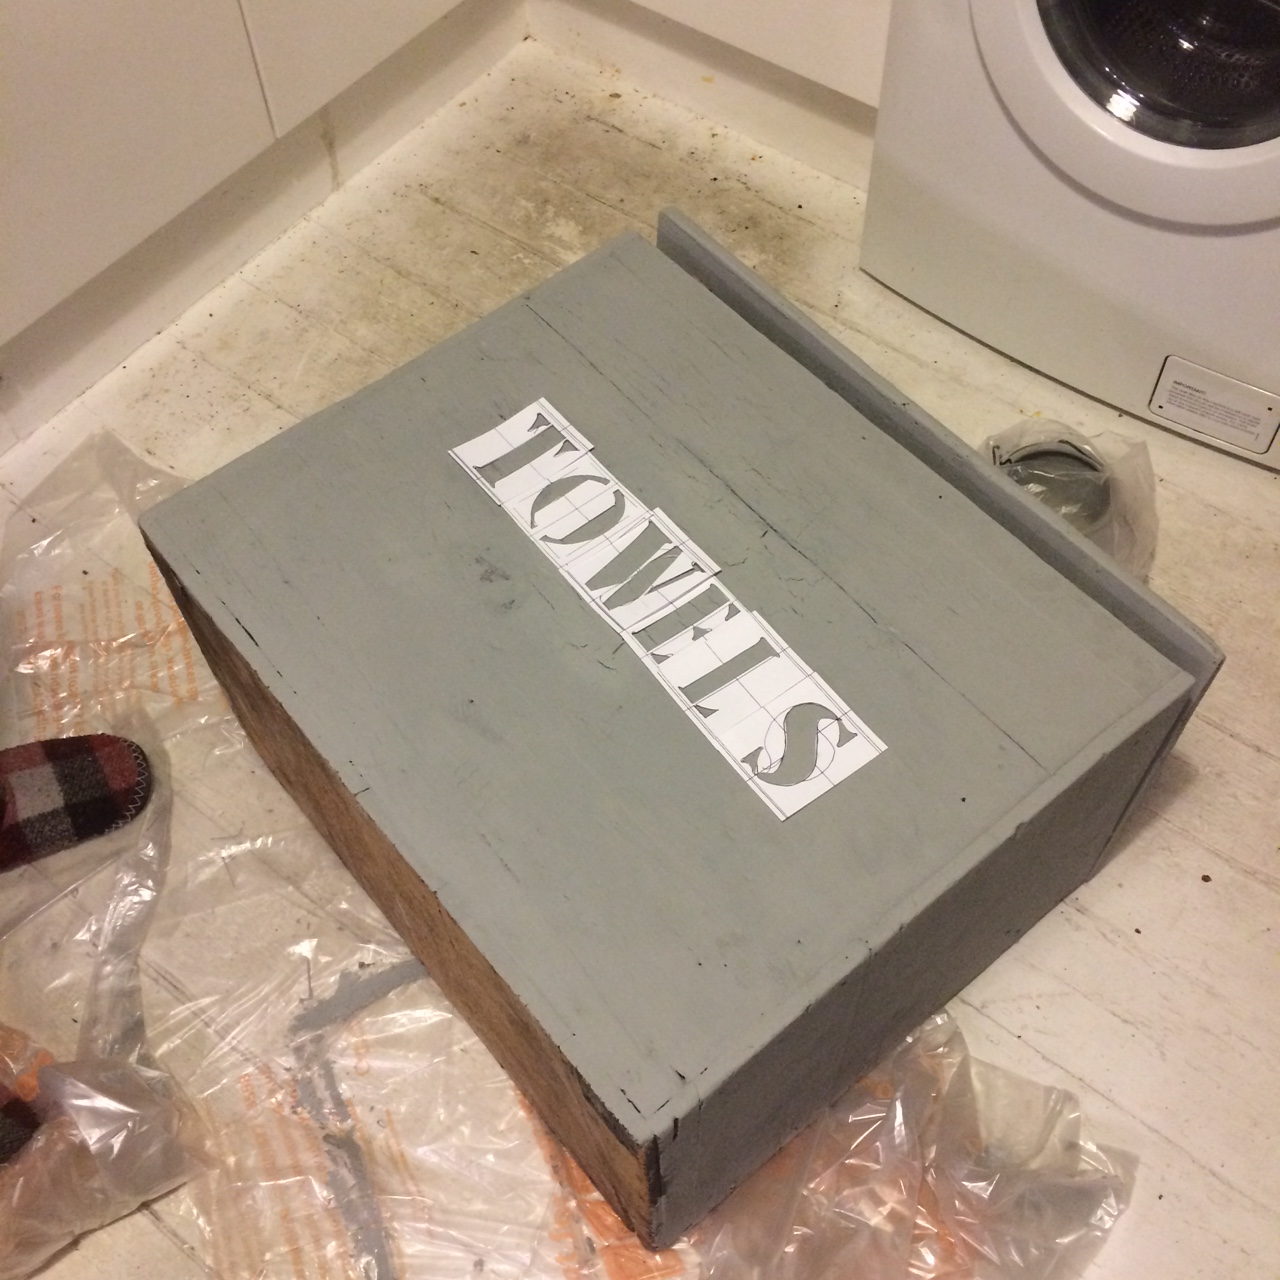
Using the Cuprinol paint we brushed a few layers of the paint on to the card.

However, I think we may have been a bit overzealous – after leaving it overnight to dry we hurried home after work for the big unveil, only for the paint to come off with the card! Disaster, right? Luckily, David’s expert eye saved the day and we drew the letters back on freehand, giving it a lovely personal touch.
It was time to create the seat cushion. After a bit of a struggle trying to find foam, we opted to use what we had and make this out of an old memory foam cushion – at least it would be comfy! We got some last minute supplies from Wilko, including a staple gun and some No More Nails, wrapped the pillow in the fabric and stapled it to a space piece of wood. We then used to the glue to stick the wood to the trunk, creating the seat cushion – easy as pie!


Now before we carry on we do want to say that this is NOT the correct way to upholster – the wood was too small and pillow slightly too big, HOWEVER, for budget savvy amateurs like us, it’s a great life hack and does the job. The guys at Revamp very kindly offered to assist us in properly upholstering, an offer we take up later down the line but for now this is our little sideways cheat!
To put a finishing touch on the trunk, we retrieved the pot of Annie Sloan soft white wax we’d picked up. This can be used in a few ways to give different finishes on the wood, but we thought as the trunk would be in the bathroom, it would be the perfect way to seal in the paint and protect it from moisture. Plus, it makes it look fantastic!
And voila! The trunk was complete.


Having seen a few ‘antique’ trunks being sold in various markets for up to about £500, it was great to know we completed this whole project on £70 and even got to put our own personal touch on it! This is our second upcycling project and we’re thrilled with the result, we’ll just need to find the next thing to restore…
Upcycle & away,
David & Mark x

3 replies on “Putting some funk in our trunk…”